Setup your Working Hours for Individual Appointments
After adding services and resources, the final step is to tell Veribook when a particular resource is available for a particular service.
Put another way, working hours enable Veribook to display your real time availability. When customers view a particular resource's availability for a particular service, they will only see times that are a) within the working hours that are configured and b) not otherwise busy or blocked off.
This tutorial is for creating working hours for services designed for individual appointments and bookings. Instructions for setting when you're available for group services (e.g. classes, seminars, workshops) are available here.
Schedule a Demo
Ask a Question
Instructions
1. Select the Calendar button in the main navigation bar.

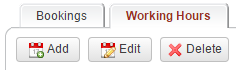
2. Select the Working Hours tab.
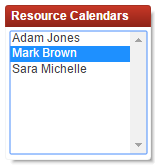
3. Select one of the existing resources.
4. Select the Add button.
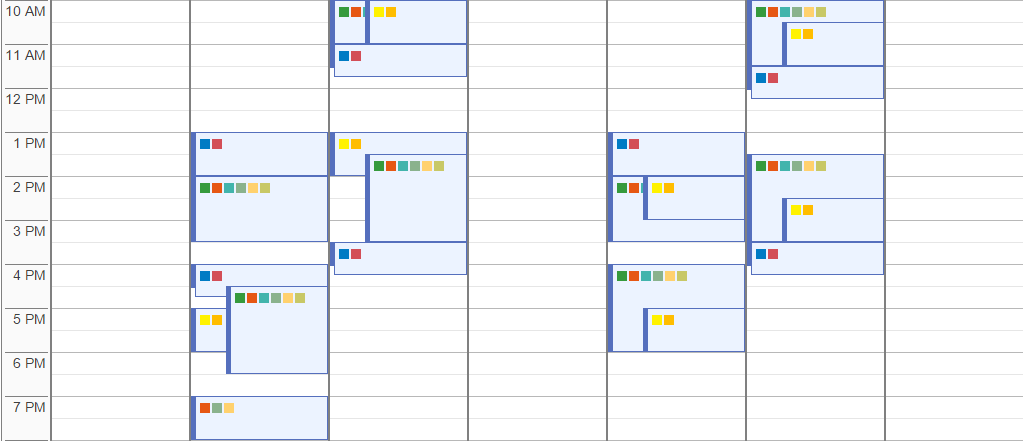
You're also able to navigate to the right date and time on the calendar, and double-click on the calendar to open the same dialog.
You're also able to navigate to the right date and time on the calendar, and double-click on the calendar to open the same dialog.
5. This tutorial is for creating working hours for services designed for individual appointments and bookings.
Accordingly, select the option Add working hours for services offered to individuals (e.g. massage therapy, individual consultations). If not applicable to you, you will not see this question.
Instructions for setting when you're available for group services (e.g. classes, seminars, workshops) are available here.

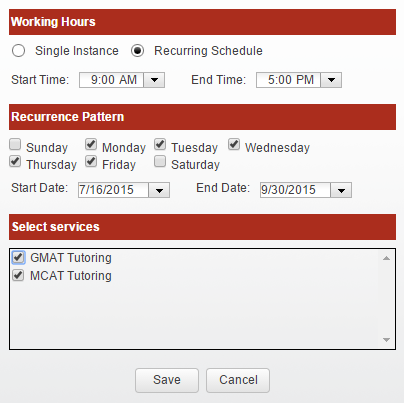
6. Complete the form as appropriate to schedule, on a one-time or recurring basis, when the selected resource should be available for the selected services.
You only need to specify the overall start and end time (e.g. 9AM to 5PM); Veribook will automatically calculate the specific appointment timeslots to make available, taking into account your overall configuration.
One way to schedule breaks for a resource is to add working hours in a way that excludes breaks (e.g. 9AM to 12PM, and 1PM to 5PM, but not 12PM to 1PM).
It's also possible to block out time for breaks by manually adding events or placeholder bookings.
The times inputted will be in the time zone your computer is configured to be in. Use the calendar timezone feature to select a different time zone if necessary, before opening this dialog.
Remember to click the Save button.
7. Repeat this process to configure the working hours applicable to each resource.
Copyright © 2026 Amobius Group Inc. All rights reserved.