Share
Access

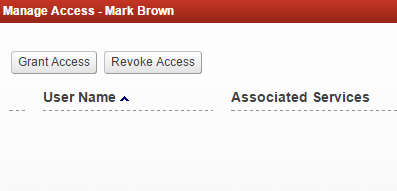
Share Access to Your Account

It is oftentimes useful to share limited access to your account with others. For example, a business with multiple staff may have a main administrator with full access, but it may be helpful to share limited access with user accounts accessible by other staff members.

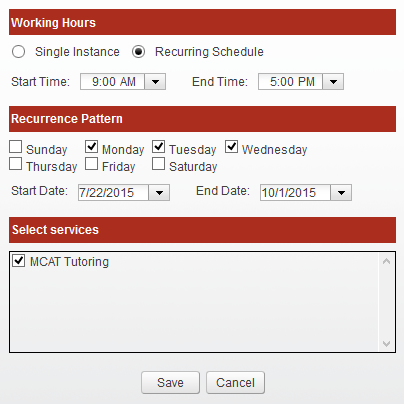
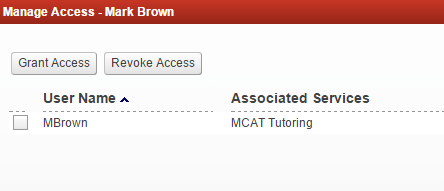
Once access is so shared, these other staff members can login using their own personal username and password, set their own working hours, manage their own bookings and registrations, and receive email notifications related to only themselves. Access can also be revoked at any time, such as when there is staff turnover.

This feature is most oftentimes used by businesses with multiple independent staff who need to manage and control their own schedule, such as tutoring agencies, health clinics, and professional offices.

Instructions

1.  Ensure you know the user name of the user you are sharing access to. If necessary, create a new user account for them and supply this information to the new user.
2.  Sign into your own account, then select the Setup Services button in the main navigation bar.
3.  Select the Resources tab.
4.  Select the Share Access icon corresponding to the resource for which you want to set or update this feature.
5.  Select the Grant Access button.
6.  Enter the username of the user account with which you wish to share access to this resource, and select at least one service as well.

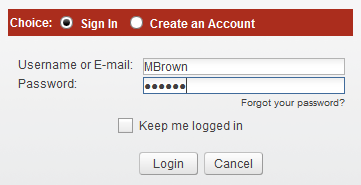
Follow these instructions for creating new user accounts using a different browser if the person you are sharing access with does not already have a Veribook account.
7.  This user account will now have access to bookings and registrations associated with this particular resource and service(s).

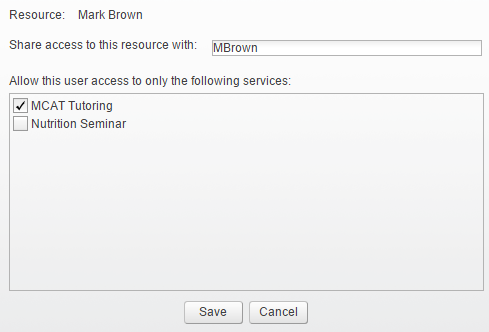
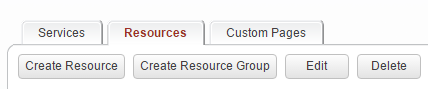
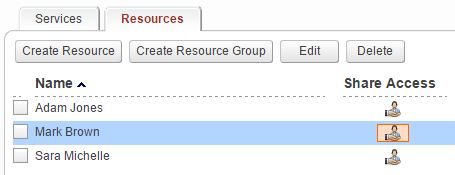
You can repeat this process to share access to this resource with additional user accounts.
8.  If you'd like to confirm this configuration, first log out of your current account by select the Log out option.
9.  Click the Login option, and sign into the account with which you shared access.
10.  Select the Calendar button in the main navigation bar.
11.  Within the Working Hours and Bookings tabs within the calendar, the shared resource will be visible in the list of Resource Calendars.
12.  The resource will have access to only the services selected above, in Step 5.

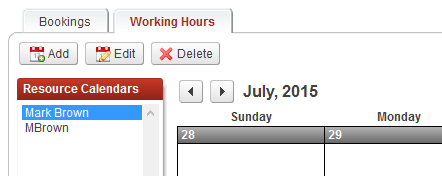
For example, working hours can be added only in association with the selected services.

Copyright © 2024 Amobius Group Inc. All rights reserved.